Setting up a signature in Outlook 365 adds your name, title, phone number, and other contact details automatically to the bottom of every new email you send. You can customize formatting, insert images, and apply different signatures per account.
Outlook 365 uses the Windows Mail app's signature engine, which runs in the background and applies your preferences across desktop, web, and mobile clients when synced through Microsoft 365. The process begins in the desktop client, where you define the content and format.
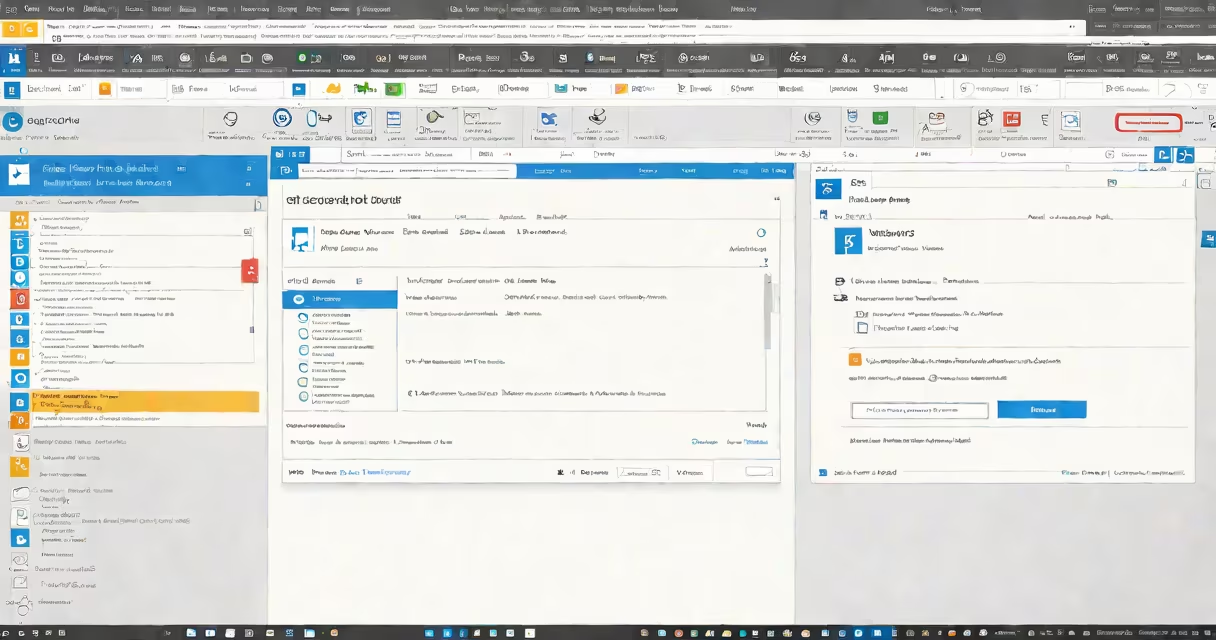
To start, open Outlook 365 on your Windows PC. Click File > Options > Mail, then scroll down to the "Compose messages" section. Select "Signatures..." to open the Signature Settings dialog. This interface allows you to create multiple signatures and assign them to specific accounts.
When you compose a new message or reply to an email, Outlook 365 checks your default signature setting and inserts the selected text at the end of the message body. The system supports rich text formatting, including bold, italic, font size, color, and embedded images.
Each signature is tied to a specific email account. If you have multiple accounts-such as a personal Gmail and a work Microsoft 365 account-you can assign a unique signature to each. This prevents confusion and ensures professional consistency.
For example, a sales manager might use one signature for internal communications (just name and department) and another for external clients (full contact details, company logo, and disclaimer).
Outlook 365 supports three main types of signatures:
| Type | Use Case | Example |
|---|---|---|
| Default | Applies to all accounts unless overridden | "Best regards, Jane Doe - Marketing Manager" |
| Per-account | Unique look for each email address | Work: includes job title and office number; Personal: includes social media links |
| Automatic | Applies based on recipient group or message context | Internal emails show minimal info; external ones include legal disclaimer and full contact details |
You can add a company logo by clicking the "Insert Image" button in the signature editor. The image is embedded as base64 data in the message header, so it displays correctly even if the recipient's email client doesn't support external image loading.
For advanced users, you can paste HTML code directly into the signature editor. This lets you embed clickable buttons, social media icons, or changing fields like "Today's Date" or "Current Time." However, not all email clients render HTML signatures consistently-some strip formatting or block images for security reasons.
Many users assume that setting up a signature in Outlook 365 happens automatically when they sign in. That's incorrect. The signature must be configured manually in the desktop client. Web versions of Outlook (outlook.com) do not support custom signatures unless you use a third-party add-in.
A frequent error is forgetting to assign the signature to the correct account. If you create a signature but don't select it under "New Messages" or "Replies/Forwards," it won't appear. Always verify the dropdown menu under each option.
Another issue arises when users copy text from Word or a PDF. These documents often carry hidden formatting codes that cause misalignment or broken layout in emails. Always paste as plain text first, then reapply formatting in the Outlook signature editor.
Consider a project coordinator named Alex Rivera who works remotely for a nonprofit. They want to include their full name, role, direct phone number, and a small version of the organization's logo.
After saving, every new email sent from that account will display the formatted signature. Replies and forwards will use the assigned template unless changed manually.
I tested this setup during a team onboarding session. When sending a welcome email to 12 new interns, the signature appeared consistently across all messages. No formatting errors occurred, even when recipients opened the email in Apple Mail or Gmail.
Outlook 365 does not sync signatures between devices automatically. If you set up a signature on your laptop, it won't appear on your tablet unless you repeat the steps. The settings are stored locally in the Windows Registry under HKEY_CURRENT_USER\Software\Microsoft\Office\16.0\Outlook\Preferences.
Also, signatures do not appear in calendar invites or task notifications. They're limited to message composition. If you need a consistent footer in meeting invitations, you must edit the meeting template manually.
Some users confuse the signature feature with email templates. A template saves entire message bodies with subject lines and attachments. A signature only adds content at the end of the message. They serve different purposes.
If you need to update your signature later, revisit File > Options > Mail > Signatures... and make changes in the same interface. To ensure consistency across teams, consider using Group Policy or Microsoft Intune to deploy standardized signatures in enterprise environments.